87 GT- Inside and out |
Post Reply 
|
Page <123> |
| Author | |
D_sensitized 
Admin Group 
Executive Member Joined: 25 March 2008 Location: Canada Status: Offline Points: 601 |
 Post Options Post Options
 Quote Reply Quote Reply
 Posted: 01 May 2012 at 7:49pm Posted: 01 May 2012 at 7:49pm |
|
Sounds good, looking forward to seeing more pictures.
You don't have any of the CF vinyl left do you? |
|
|
-Harrison
88GT 3800 SC1 F23 5-speed Chilliwack |
|
 |
|
|
Stevenr
Member 
Joined: 12 February 2012 Location: Canada Status: Offline Points: 85 |
Post Options
Quote Reply
Posted: 01 May 2012 at 8:38pm |
|
I've got A tiny bit, though not enough for any of the
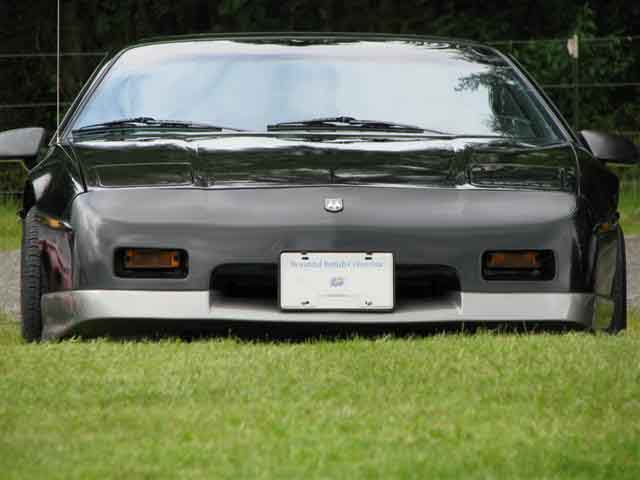
bezels. It's similar to this; http://www.canadiantire.ca/AST/browse/4/Auto/AutoCustomPe rformance/Decals/PRD~0410292P/Carbon+Fibre+Pattern+Adhesi ve+Film.jsp?locale=en But comes in larger rolls and is found directly next to the window tint. Spent literally all day today putting on the new bumper which required removing the hood.... BIG mistake. Ended up grinding up the edges into the SMC/fiberglass and after a few hours, finally got it to the point where it would even close! The hood is ridiculous! |
|
|
|
|
Stevenr
Member
Joined: 12 February 2012 Location: Canada Status: Offline Points: 85 |
Post Options
Quote Reply
Posted: 07 May 2012 at 6:34pm |
  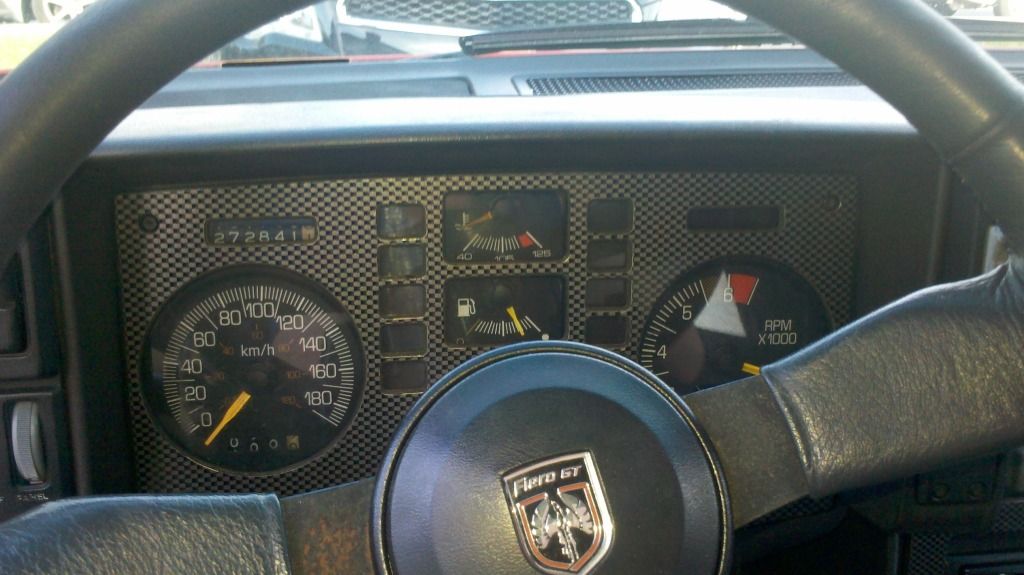 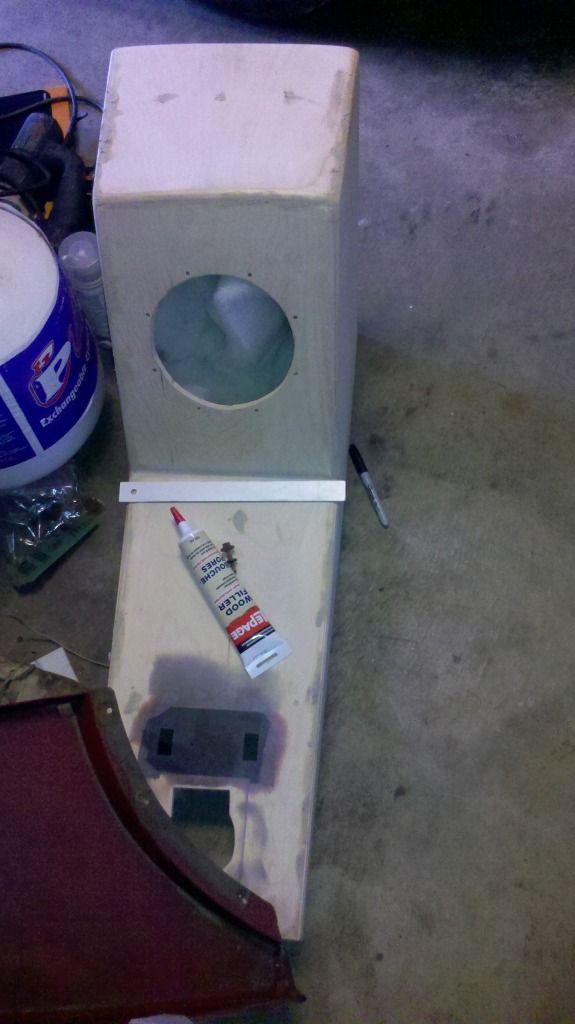  {dr fixed yer' pix} As soon as I figure this out, pictures will be up. (dr. sez: copy & paste what it says beside "IMG Code" on photobucket) After installing the new bumper, I've now started on the front lip, skitime style. Filled the rear wing holes and sanded them down. Pictures of the CF dashes are also there, along with progress on the subbox. Currently waiting on some glue from my fathers work to solidify the inlay-ed mirror switch plate, then I will smooth it out again. Wood filler, sanding, all that good stuff too. |
|
|
|
|
Stevenr
Member
Joined: 12 February 2012 Location: Canada Status: Offline Points: 85 |
Post Options
Quote Reply
Posted: 10 May 2012 at 6:37pm |
|
Ordered a mustang scoop and in the process of finding some
epoxy/filler for the rear decklid. Thank-you Dr., I swear I tried the IMG code, but they wouldn't show up. I think I might be crazy, or maybe they take a while to load? Also, Mr.Mikes seats, firewall cover, and lower door skins are almost here! |
|
|
|
|
Dr.Fiero
Senior Post God
Joined: 12 February 2007 Location: Canada Status: Offline Points: 1726 |
Post Options
Quote Reply
Posted: 10 May 2012 at 6:55pm |
|
It's really fussy on format. Just copy and paste the link photobucket
provides. Works fine. |
|
|
|
|
Stevenr
Member
Joined: 12 February 2012 Location: Canada Status: Offline Points: 85 |
Post Options
Quote Reply
Posted: 14 May 2012 at 3:43pm |
|
While I can't drive the fiero... I can install the Mr.Mikes
seats that just arrived! Going to hopefully get these done in the next few days, going to do it nice a slow, make sure it's perfect :) |
|
|
|
|
Stevenr
Member
Joined: 12 February 2012 Location: Canada Status: Offline Points: 85 |
Post Options
Quote Reply
Posted: 17 May 2012 at 5:15pm |
|
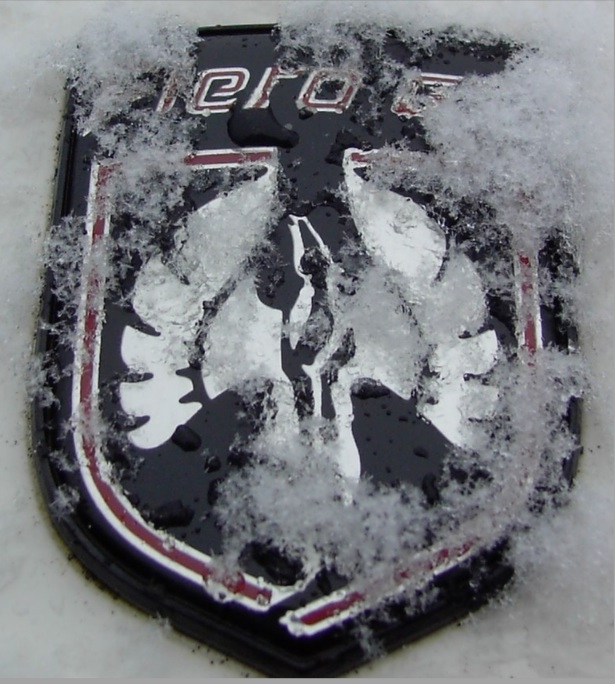
Testing out an idea I had...
|
|
|
|
|
Colby
Admin Group
Joined: 30 March 2009 Location: Abbotsford/Sask Status: Offline Points: 665 |
Post Options
Quote Reply
Posted: 17 May 2012 at 5:22pm |
|
Try a different web browser. This forum seems to be a bit weird and starts a new line of text after so many characters on some browsers (like Chrome and most cell phone browsers), which breaks your image tags.
|
|
|
88 Formula 5 speed
|
|
|
|
|
Stevenr
Member
Joined: 12 February 2012 Location: Canada Status: Offline Points: 85 |
Post Options
Quote Reply
Posted: 17 May 2012 at 9:34pm |
|
Maybe thats it, ill try another when I get to the computer!
|
|
|
|
|
ARTIC-1
Senior Member 
Joined: 14 October 2009 Location: Canada Status: Offline Points: 434 |
Post Options
Quote Reply
Posted: 17 May 2012 at 10:36pm |
|
ive found some times i have to change the
the file name to somthing a little shorter,like 562.jpg"> just try it an see an then it will except the file,all so have to hit the return bar when posting a pic after text. hope this helps |
|
|
SNOW MAN
87-GT/AUTO-2.8_ WHITE 88-TTop/ Duke-2.5. RED |
|
|
|
|
Stevenr
Member
Joined: 12 February 2012 Location: Canada Status: Offline Points: 85 |
Post Options
Quote Reply
Posted: 19 May 2012 at 1:08pm |
|
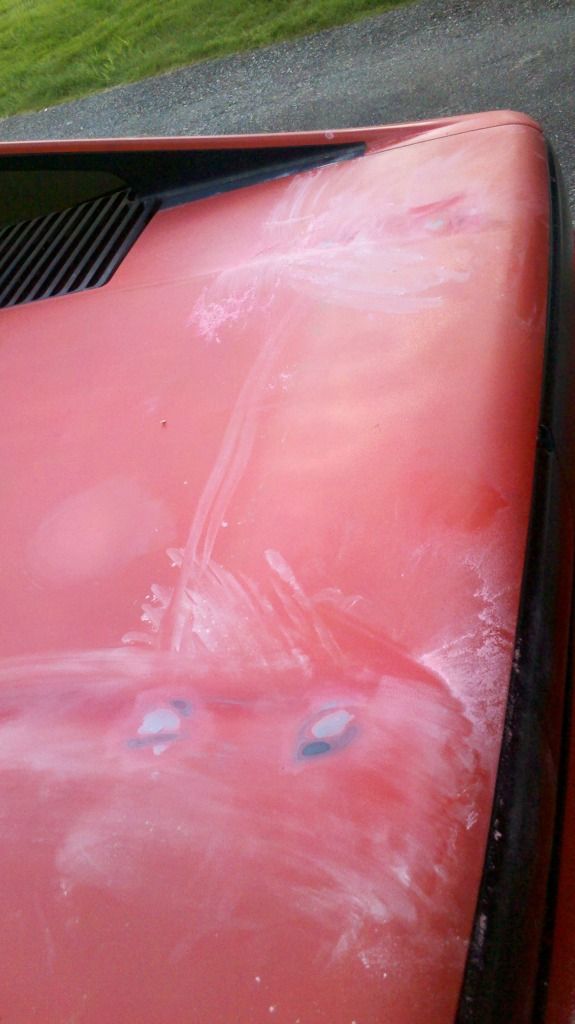
There we go! Thanks for the suggestions.
And don't worry, that's not spray paint! |
|
|
|
|
Stevenr
Member
Joined: 12 February 2012 Location: Canada Status: Offline Points: 85 |
Post Options
Quote Reply
Posted: 20 May 2012 at 1:48pm |
|
Finishing the rest of the Mr.Mikes lower door skins as we
speak, might wait to fully install until I buy my black carpet though. Pictures when they are done, now that I know how to post them! Also going to get some work done on the sub-box, but I need suggestions on finishing it. Would you get it professionally upholstered( was quoted for almost 200$ ) or go another route? |
|
|
|
|
Stevenr
Member
Joined: 12 February 2012 Location: Canada Status: Offline Points: 85 |
Post Options
Quote Reply
Posted: 29 May 2012 at 9:16pm |
|
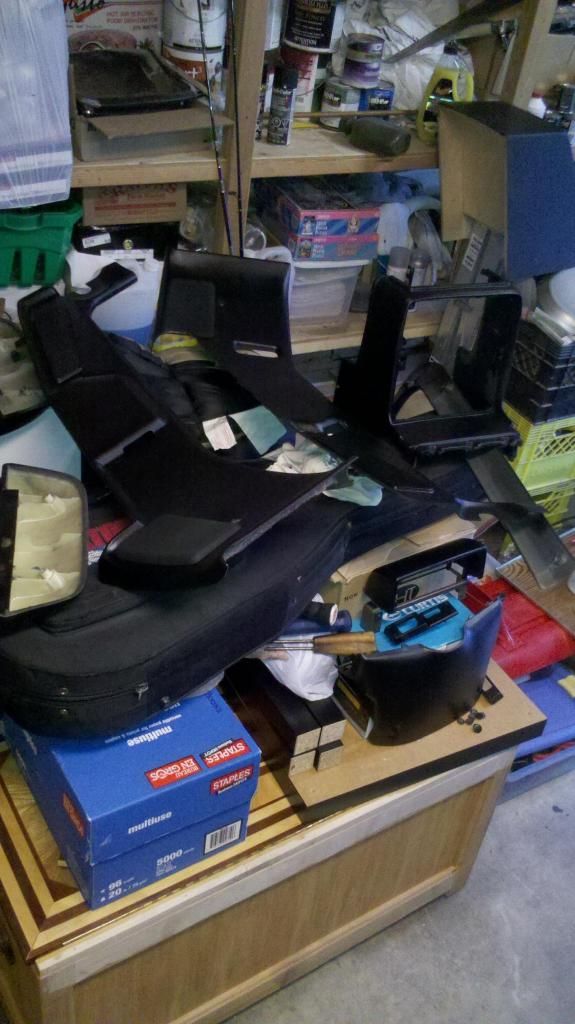
And so the transformation begins... Grey to black! Ordering some missing trim and parts, as well as some black carpet pretty soon. Once that all comes in, everything goes back together and I'll start on the exterior! The dash was rediculous to get out but....Voila!(see below)
|
|
|
|
|
Stevenr
Member
Joined: 12 February 2012 Location: Canada Status: Offline Points: 85 |
Post Options
Quote Reply
Posted: 10 June 2012 at 9:50pm |
|
One step forward, two back!
After removing the headliner after realizing it was still in bad condition and grey, it fell into 7 pieced. After numerous attempts to save it, I had to order a fiberglass replacement from the fieroshop... The shipping was twice the price on the unit, ouch! Looks like it won't be done before I go away for a month at the end of this month, oh well; it'll still be sitting there when I get back! |
|
|
|
|
Stevenr
Member
Joined: 12 February 2012 Location: Canada Status: Offline Points: 85 |
Post Options
Quote Reply
Posted: 18 July 2012 at 6:27pm |
|
Alright, home now and will be starting the assembly
tonight/tomorrow. Wish me luck and I hope I didn't lose any screws. |
|
|
|
|
Stevenr
Member
Joined: 12 February 2012 Location: Canada Status: Offline Points: 85 |
Post Options
Quote Reply
Posted: 26 July 2012 at 9:23pm |
|
Got the dash in as well as the door panels today. I'm
scrambling, looking for screws... note to self, label EVERYTHING. I'm going to probably end up with extra screws... but as long as everything is tight and it works I won't worry about it. Looking good though, starting to shape up. |
|
|
|
|
Twinn
Newbie 
Joined: 21 February 2012 Location: Canada Status: Offline Points: 45 |
Post Options
Quote Reply
Posted: 27 July 2012 at 12:51pm |
|
More pics, more pics
|
|
|
|
|
Stevenr
Member
Joined: 12 February 2012 Location: Canada Status: Offline Points: 85 |
Post Options
Quote Reply
Posted: 29 July 2012 at 5:34pm |
|
I'll snap some once I get the headliner in tomorrow :)
There's one flaw i hadn't noticed though, I glued the black vinyl lower door panel on a little off, and now there's a gap between the concaved ridge and the vinyl... bugging me but not sure how to fix it quite yet. I'm also going to run the wiring for my sub before I install the firewall cover back on; how do I get through the firewall to the battery? Are there any problems with just drilling a small hole straight through? |
|
|
|
|
Dr.Fiero
Senior Post God
Joined: 12 February 2007 Location: Canada Status: Offline Points: 1726 |
Post Options
Quote Reply
Posted: 29 July 2012 at 5:48pm |
Yes! It's double walled for the most part. If you insist, just make it up way high. Best bet is to just pierce a hole by the shifter cable (in the rubber boot) and ram the wire through. Keeps it water and vapour tight. |
|
|
|
|
Capt Fiero
Admin Group

Founding Member Joined: 12 February 2007 Location: Canada Status: Offline Points: 4039 |
Post Options
Quote Reply
Posted: 29 July 2012 at 6:01pm |
|
If you drill high up roughly the same height as the battery, you will be fine. I chose to do that rather than run the extra 2 feet of wire to go from my amp's power feed around the amp, down to the shift cable, then back from the cable up to the battery. Just make sure to use a good fuse and a grommet if possible. Fuse is mandatory, grommet is recommended. I ran it like this for years and did not have any issues. However as the good doctor said, if you drill down low, you will find out that you have multiple things in your way and several layers of sheet metal to deal with. |
|
|
Capt Fiero
88 Fiero GT 5spd V6 Eight Fifty Seven GT V8 5spd. |
|
|
|
|
Post Reply
|
Page <123> |
 Tweet
Tweet
|
| Forum Jump | Forum Permissions You cannot post new topics in this forum You cannot reply to topics in this forum You cannot delete your posts in this forum You cannot edit your posts in this forum You cannot create polls in this forum You cannot vote in polls in this forum |


 Topic Options


 Stevenr wrote: